Animals come in all shapes and sizes. And in all colors! Changing yarn colors in amigurumi is a useful technique to add embellishments, spots or even just a different colored belly. Here is a quick guide to changing colors in crochet from Phillip’s blog – Sir Purl Grey.
Crochet color changing guide
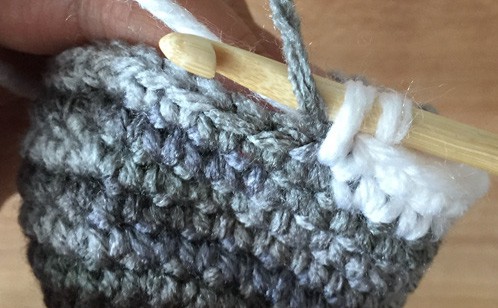
Leave two loops on hook
Right before you want to change colors, don’t crochet a complete stitch. Crochet a stitch like normal but leave two loops on the hook.
Where you want to switch colors, leave the stitch before unfinished (two loops on the hook).
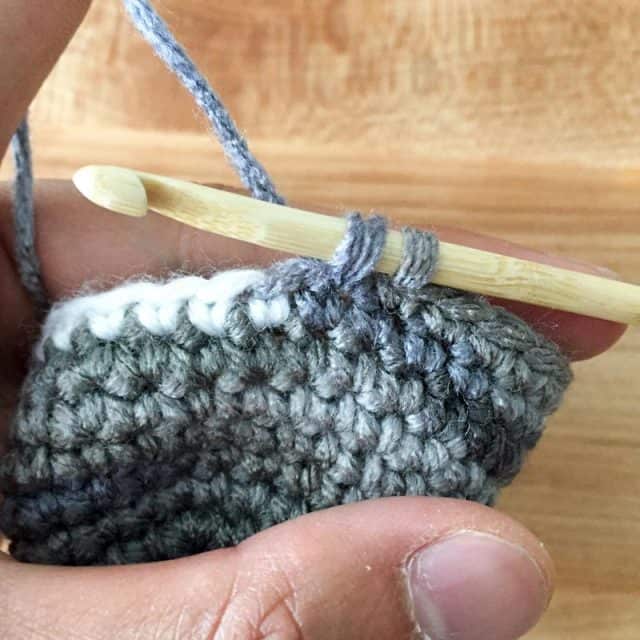
Complete the stitch with the new color
Then yarn over with the new color and draw through both loops on the hook. This completes the stitch.

This is where the new color comes in! Yarn over with the new color and draw through both loops on the hook.
Carry on!
Now that the stitch is complete, continue crocheting with the new color.

Stitch is now complete. Continue crocheting with the second color.
To cut or to carry the yarn
There are two options with the old colored yarn. You can simply cut it off and stuff the end into the creature. Or you can leave the yarn and “carry” it (that is, just leave it uncut and grab it when you want to use it again). Whatever you choose, the yarn will just be extra stuffing!
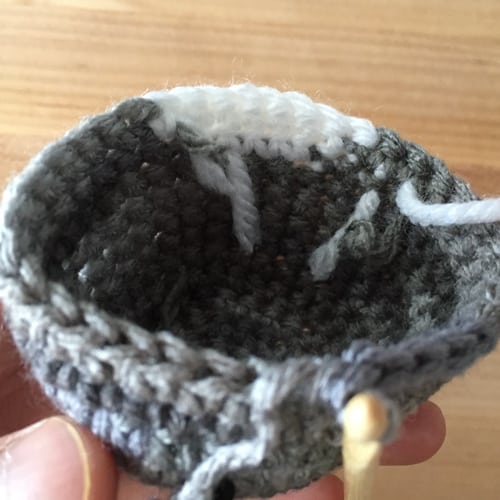
Yarn ends can be cut or just left as is. They will be inside the creature anyways!
See the complete tutorial at Sir Purl Grey – Phillip’s amigurumi blog.